
Fallen Lineage Archer Critical Build
Last updated:
Build your Archer around Aimed Shot, then support it with Agility, critical-damage gear, and bonuses against status-affected enemies. Preparing the target matters as much as choosing the shot.
Choose Hunter, develop Agility, and use Aimed Shot for 75% more critical chance. Deadeye adds a separate 200% critical-damage bonus to Aimed Shot. Favor Broadhead Quiver for direct critical damage, use Antler Bow against Marked targets, and coordinate Inspire and Unguarded before firing. Avoid Everlasting Flame for this build and Life Tap when relying on Energy-on-crit recovery.
Build Around Aimed Shot
Aimed Shot is the core attack: it grants 75% more critical chance. With Deadeye, it also gains a 200% critical-damage bonus added to existing critical damage.
These bonuses affect different parts of the attack. The first increases the probability of a critical hit; the second increases its damage when you have the specialization. The 200% bonus does not replace your existing critical damage, and the 75% more modifier does not add 75 percentage points to your chance.
Build toward three connected benefits:
- Raise critical chance through Agility and compatible increased or more modifiers.
- Improve critical-hit damage with Broadhead Quiver and, with Deadeye, Aimed Shot's specialization bonus.
- Prepare status-affected targets to activate Hunter and exploit Marked with Antler Bow.
Aimed Shot can still be dodged or blocked. A favorable critical chance alone does not bypass those defenses.
Choose Hunter and Read Critical Chance
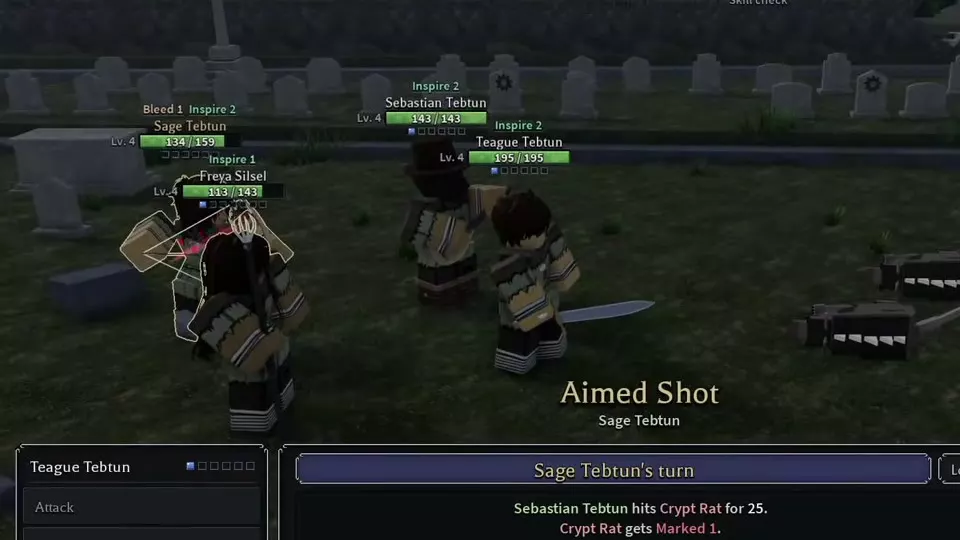
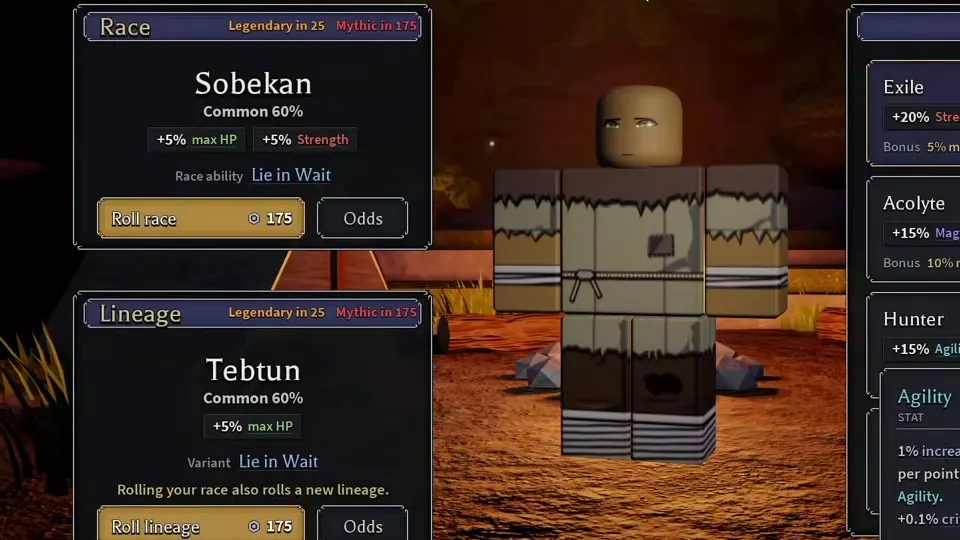
Choose Hunter during character creation for +15% Agility, +10% Strength, and 10% more damage against targets affected by status effects. Its conditional damage bonus rewards preparing an enemy before committing your damage skill.
Develop Agility as your flat critical-chance source. Each point adds 0.1 percentage points to the 5% base chance. Each point also increases damage and healing by 1% for skills that scale with Agility; use a skill's scaling label to judge that benefit.
Before increased or more modifiers, calculate critical chance as:
Critical chance (%) = 5 + 0.1 × Agility
Increased and more modifiers change that probability rather than adding their printed numbers as percentage points. For a single 50% more modifier applied to an existing 10.8% chance:
10.8% × 1.5 = 16.2%
That is a gain of 5.4 percentage points. It is an isolated calculation for that modifier, not a final probability for the entire build.
Enter a run, open Skills during combat, and select the skill and enemy to inspect the attack's critical chance. Use that preview when evaluating skill-specific bonuses rather than relying on the general Stats value alone.
Select Critical Nodes and Gear
Compare the modifier wording
Use the November 14, 2026 values when choosing critical-chance investments.
| Effect | Critical chance | Requirement |
|---|---|---|
| Keen Eye | 20% increased | Effect active |
| Sharp Focus | 15% increased | Effect active |
| Standard tree node | 5% increased | Node allocated |
| Single-Wield tree node | 8% increased | Single-Wield condition |
| Glass Edge | 50% more | Effect active |
| Burning Soul | 50% more | Effect active |
| Bloodline Precision | 1% increased | Bloodline effect |
| Bloodline Glass Edge | 6% increased | Bloodline effect |
Glass Edge and Bloodline Glass Edge have different modifiers. Keep the 50% more effect separate from the Bloodline's 6% increased effect. Single-Wield nodes also require their own weapon condition; their larger printed value does not make them a bow recommendation.
Prioritize investments that work with your equipped weapon and chosen skill. Use the Passive Tree guide for connected allocations and applying nodes.
Choose your quiver
Both quivers below are Rare, Level 3, Tier 1 options.
| Quiver | Damage | Critical damage | Dodge | Status power |
|---|---|---|---|---|
| Broadhead Quiver | 2–3 | 8%–12% | 3% | — |
| Barbed Quiver | 2–3 | — | — | 5%–8% |
Choose Broadhead Quiver for this direct critical-hit plan. Its critical-damage bonus strengthens successful crits, and its Dodge adds a defensive benefit. Choose Barbed Quiver when your damage plan places more weight on Status power. Both provide the same listed Damage range, so the secondary bonuses drive this choice.
Broadhead Quiver is available through battle rewards, including Alpha Wolf rewards, and player gifts. Barbed Quiver is available through battle rewards and player trades.
Add conditional weapon and boot effects
- Antler Bow: grants 45% bonus damage against Marked targets and a 15% chance to apply Vulnerable on hit. Choose it when your setup can put Marked on the enemy before the attack you want to strengthen. The Vulnerable proc is a chance, not a guaranteed setup action.
- Galestride Boots: grant Keen 2 at fight start, giving the build access to a critical-chance buff from the opening fight state.
- Galecoil Spear: grants Keen 1 on Takedown. This is a spear alternative for a Lancer direction; switching to it changes the weapon plan rather than completing the Archer loadout.
Prepare the Target and Take the Shot
- Choose a target with a status effect. Activate Hunter's conditional damage bonus before your heavy attack. With Antler Bow, favor a target that is already Marked to activate the bow's damage bonus as well.
- Arrange support before firing. In a party with a Bard, coordinate Rousing Chord before your damage skill. It costs the Bard 1 Energy and grants Inspire, which increases damage dealt by 20%.
- Check your critical-chance effects. Keen grants 30% more critical chance. Attacking a Marked target grants 25% more critical chance. Favor grants 8% increased critical chance per Favor. Keep their increased and more wording distinct when reading your setup.
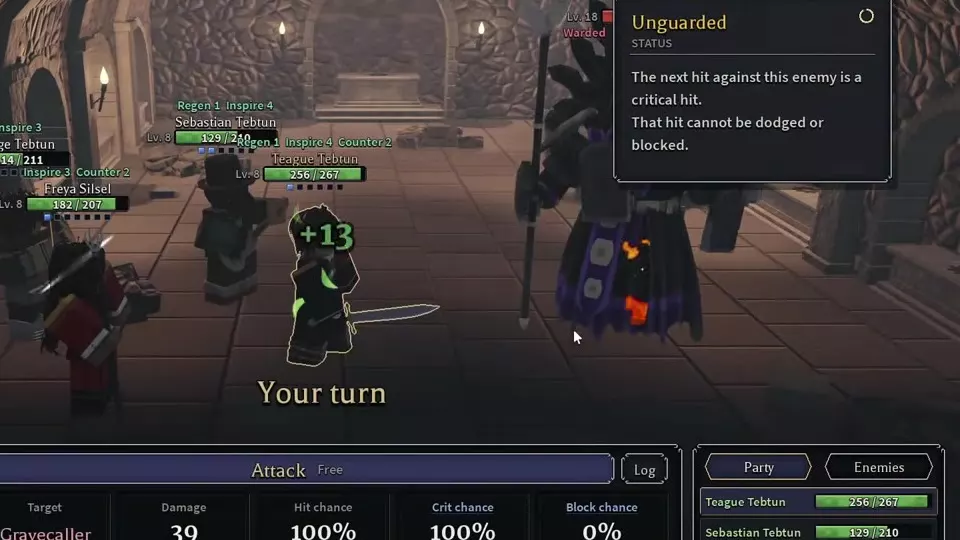
- Reserve an Unguarded opening for the intended hit. Unguarded makes the next hit a guaranteed critical hit that cannot be dodged or blocked, then is consumed. Coordinate with teammates so another attack does not take the opening first. It works once per round on the same enemy.
- Open Skills and choose the shot for the job. Select Aimed Shot for the critical-focused attack, especially with Deadeye. Select Pinning Shot when applying Slow is the immediate priority. Choose the enemy and complete the skill check.
- Check the result and your Energy. Energy-on-crit effects from different items add together, and they still trigger when the critical hit kills. Include those items when you want critical hits to support continued skill use.
Marked improves critical chance, while Antler Bow adds a separate damage benefit against that target. Unguarded changes the next hit into a guaranteed critical opening. When Unguarded is already available, prioritize which attack receives it rather than spending that opening on a weaker hit.
Check statuses after the attack before planning the follow-up. Aimed Shot's critical bonus and Pinning Shot's Slow are the reasons to choose those skills; additional Marked, Bleed, or Unguarded applications depend on the character's setup.
Use the status-effect reference for reaction details and the skill directory for loadout controls.
Avoid Conflicting Passives and Targets
- Everlasting Flame prevents your hits from critically striking. It preserves the stacks of Burn you apply, trading critical hits for persistent Burn. Leave it out of this critical-hit build.
- Life Tap prevents Energy gain. Skills instead spend 6% of maximum HP for each Energy they would cost. It replaces the resource plan, so leave it out when relying on Energy-on-crit recovery.
- Hardened makes incoming critical hits deal normal damage. Against a Hardened enemy, the build loses its critical-damage payoff. Favor another priority target when the encounter allows it, or choose Pinning Shot for its Slow utility instead of expecting Aimed Shot's critical damage to carry the attack.
Also account for Spellbreaker when budgeting skills: each skill that hits an enemy with this trait makes its user lose 1 additional Energy, separate from the skill's listed cost.
Critical Rules and Equipment Details
- Stats and critical chance: attribute scaling, allocation, and combat previews.
- Weapons: weapon requirements and bow effects.
- Armor and accessories: quiver attributes and equipment choices.
- Super Classes: Deadeye's specialization role.