
Fallen Lineage Multiplayer: Rooms, Invites, and Voting
Last updated:
Gather your friends in a party lobby, choose an adventure, and set out together. During the run, coordinate your votes and respond to party waits to keep the group moving.
At the castle, open Start Run > Multiplayer > Find a party. Select Host to create a room, or join through a code, the room list, or Random. Use Invite on an empty slot, choose Land and Difficulty, resolve readiness prompts, and select Set out. The first vote starts the voting countdown; missing two party waits in a row removes you from the party.
Party Size and Room Options
Fallen Lineage supports solo play or a multiplayer party of 2–4 players, including you. A full party contains the host and three other players.
At the castle, open Start Run. Choose Solo > Play solo to adventure alone, or Multiplayer > Find a party to open the party browser.
| Option | Use |
|---|---|
| Host | Create a room |
| Random | Random-join option |
| Code + Join | Enter a room code |
| Room-list Join | Join a listed room |
For a planned group of friends, create a room and share its displayed Code. When browsing rooms, compare Host, Level, Land, Difficulty, and Players before selecting Join.
Create, Join, and Invite
Create a room for friends
- Open Start Run > Multiplayer > Find a party.
- Select Host to create a lobby.
- Set Who can join to Friends for a friends room, or leave it Open for open joining.
- Share the Code displayed at the top of the lobby. Joining players enter it in the party browser's Code field and select Join.
To join from the room list instead, find the intended room and select Join on its row. The lobby gathers the party before departure.
Invitations
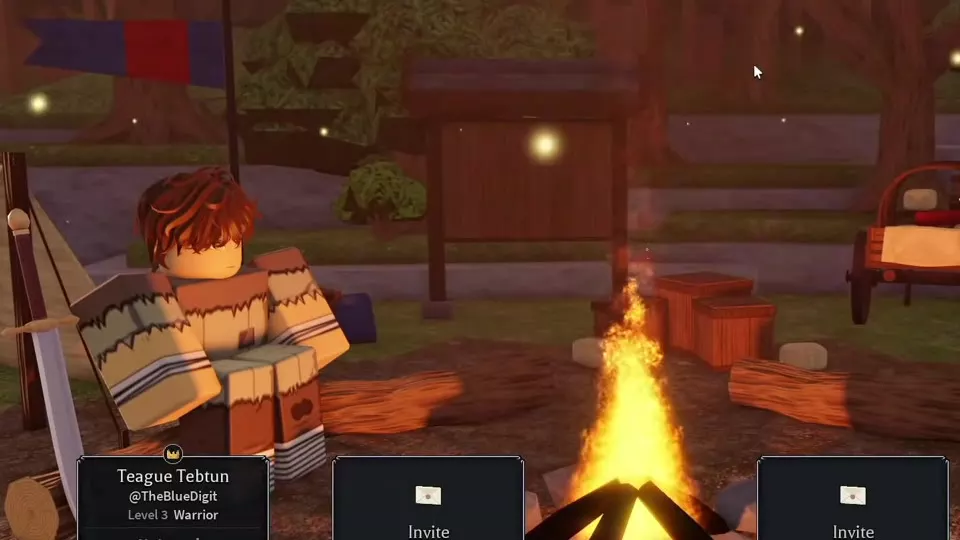
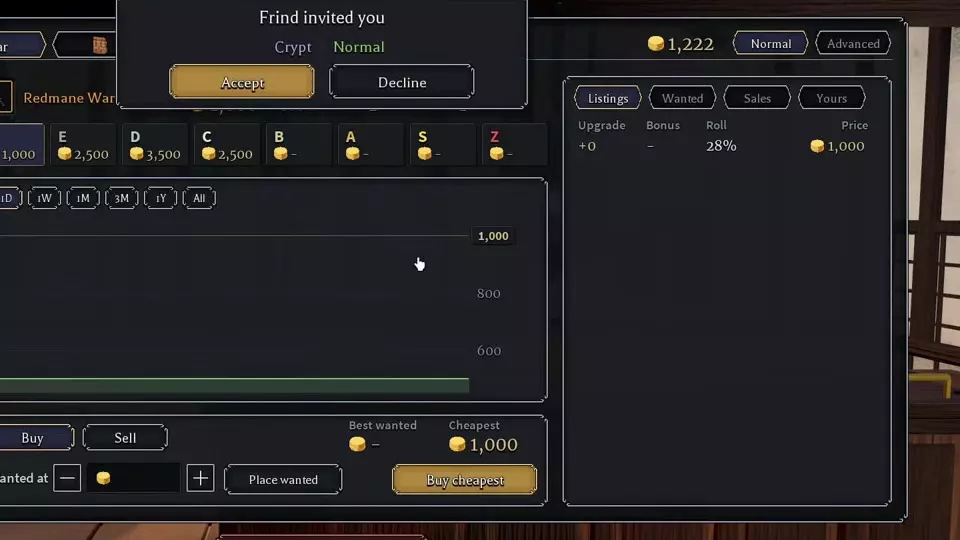
Select Invite on an empty party slot to open the invitation entry. An incoming invitation identifies the inviter, Land, and Difficulty. Read those settings, then choose Accept to accept the invitation or Decline to reject it. Invitations can also arrive while you are browsing the Market.
Check and manage members
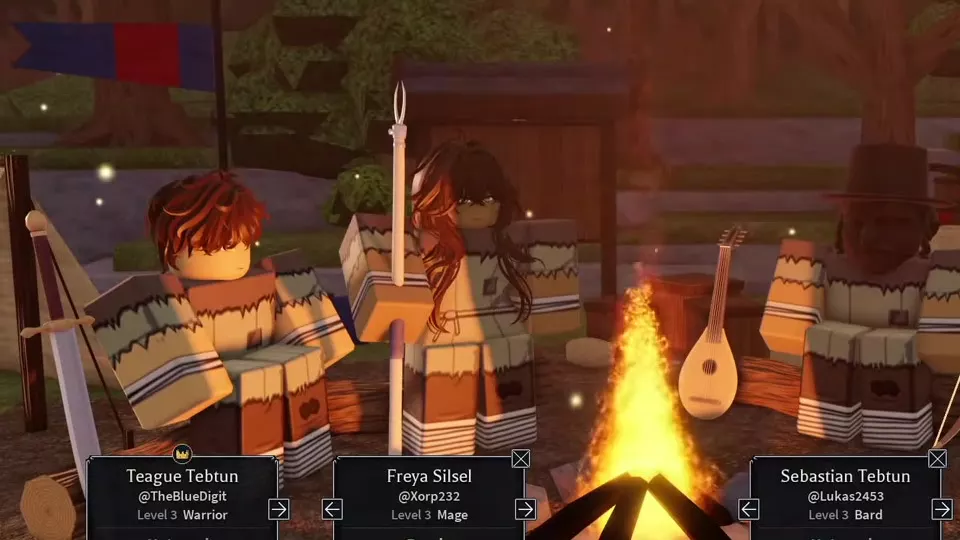
Member cards display each character's name, account, level, class, and Ready or Not ready status. Use the account and character name to identify the player you intended to join.
- Select Leave in the lobby to leave the party.
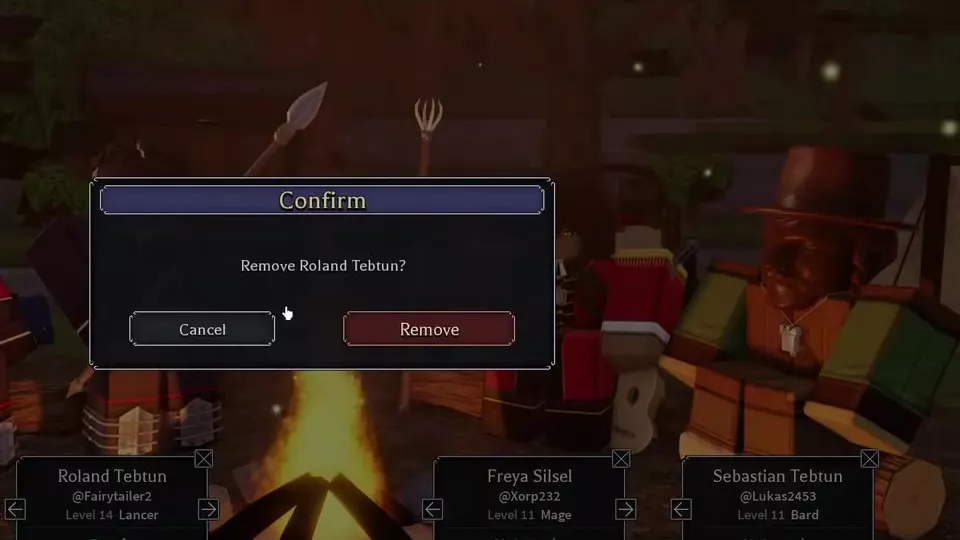
- To remove a member, open the removal confirmation from that member's card. Choose Remove to confirm or Cancel to keep them. Confirming removal replaces their position with an empty Invite slot.
Choose Land, Difficulty, and Departure
- Select Change beside Land at the top of the lobby. Browse the destinations horizontally and inspect their enemy levels, item tier, and material icons. Use Choose on an available destination.
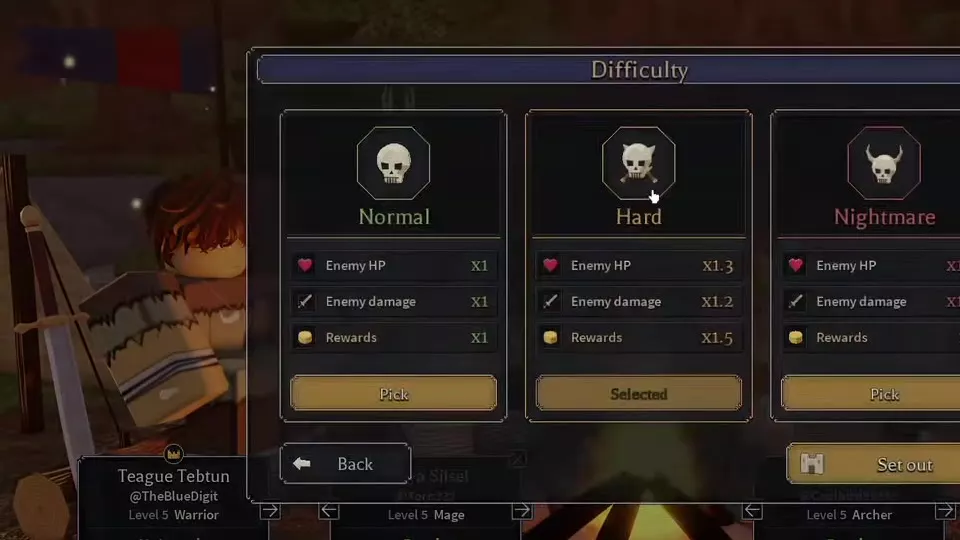
- Select Change beside Difficulty. Compare the enemy HP, enemy damage, and reward multipliers, then use Pick. The active option reads Selected.
- Check the Land and Difficulty now displayed at the top of the lobby.
- Recheck every member's readiness. Changing Land or Difficulty can return members to Not ready.
- Select Set out when it is available. If a prompt names an unready player, have that player finish preparing and wait for their card to read Ready.
The Land menu lists Forest with enemy levels 1–5 and item tier 1, Crypt with enemy levels 11–18 and item tier 2, and Catacombs with enemy levels 21–28 and item tier 2. These are enemy levels. Select a destination with an available Choose option; locked destinations display Locked.
Normal uses the baseline enemy HP, damage, and rewards. Hard and Nightmare increase all three, so agree on the difficulty before the party prepares. See difficulty multipliers and XP rules when deciding which setting suits your group.
A four-player lobby with three guests Ready has also departed while the host's card still displayed Not ready. Follow the active Set out control and any named readiness prompt when coordinating departure.
Loading, Waiting, and Route Votes
Read the arrival screen
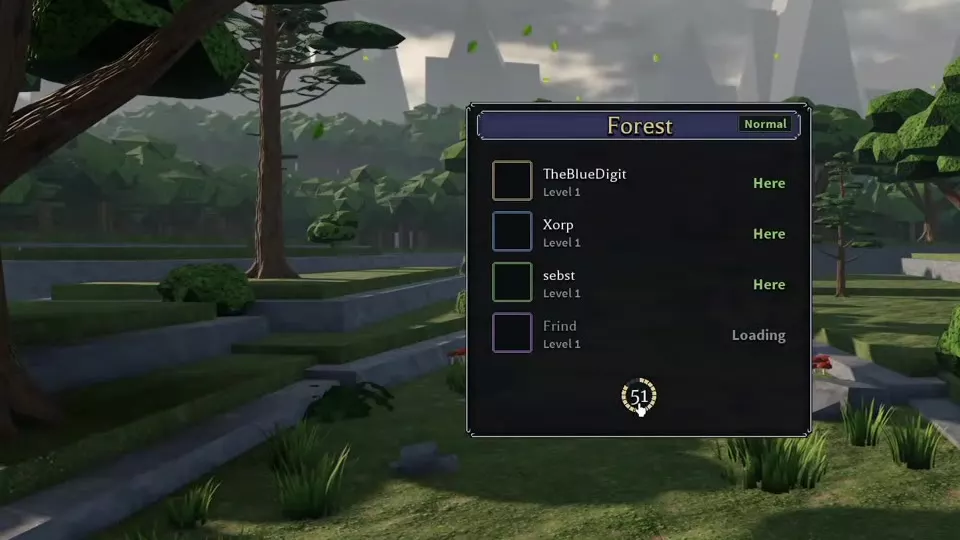
After departure, the arrival screen displays the destination, difficulty, party members, and a countdown. Here means a member has arrived; Loading means that member is still loading.
After selecting Continue on a battle result, a waiting message can identify a teammate who has not yet advanced. Stay responsive throughout the adventure: missing two party waits in a row removes you from the party.
Coordinate the first vote
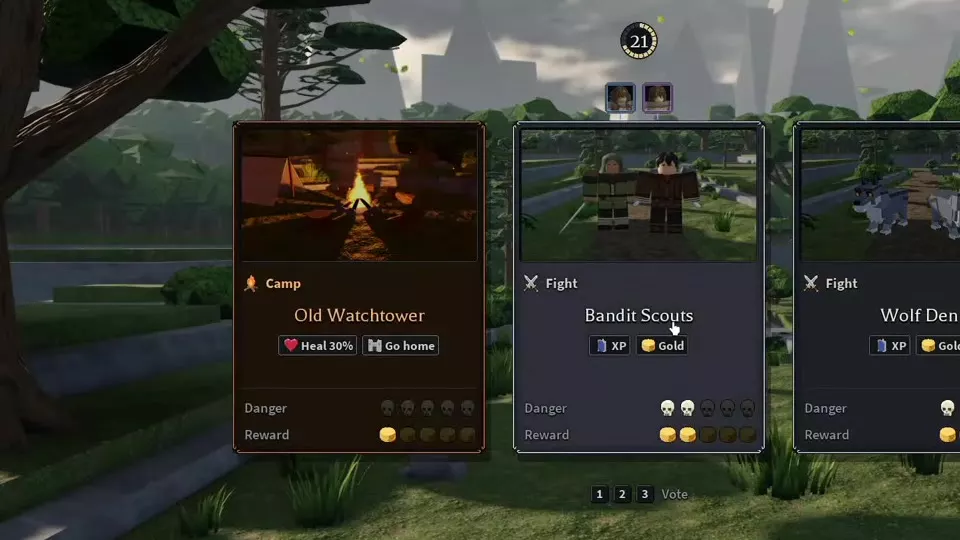
The voting countdown starts only after the first vote is cast. Discuss the options before anyone votes to give the group time to agree.
- Compare the available route cards or event choices.
- Use the displayed numbered Vote choice for your selection.
- Check the party portraits beside the card or option to see where votes are placed.
Voting applies both to route cards and to choices inside an event. The route-selection screen also provides Character and Tree; finish character inspection before an active countdown expires. For the meaning of route-card types, Danger, Reward, and regional branches, use the events and route choices guide.
At a multiplayer camp, members display Choosing or Continue statuses while the party selects its next action, with a countdown on screen.
Plan Your Party's Roles
Use each member's class card to discuss who will handle damage, support, and control. The class directory explains starting weapons and roles; the party composition and turn-planning guide covers coordinating Warrior, Mage, Bard, and Archer actions.