
Fallen Lineage Beginner Guide
Last updated:
Start with The Road, learn the combat and route controls, then use your rewards to prepare at the castle. Your Roblox account must be at least seven days old to join Fallen Lineage.
Select Play, create a character through Background, Name, Appearance, and Class, then complete The Road. At the castle, open Start Run, choose Solo > Play solo, select Forest and Normal, and press Set out. Inspect targets before attacking, press Space when Lunge’s rings meet, and collect rewards with Continue. Return through a Campfire’s Go home option, equip useful gear, confirm your points, and reserve 80 Gold, 4 Timber, and 3 Stone to repair the Blacksmith.
Create Your Character
Your Roblox account must be at least seven days old. An account younger than that cannot join the game.
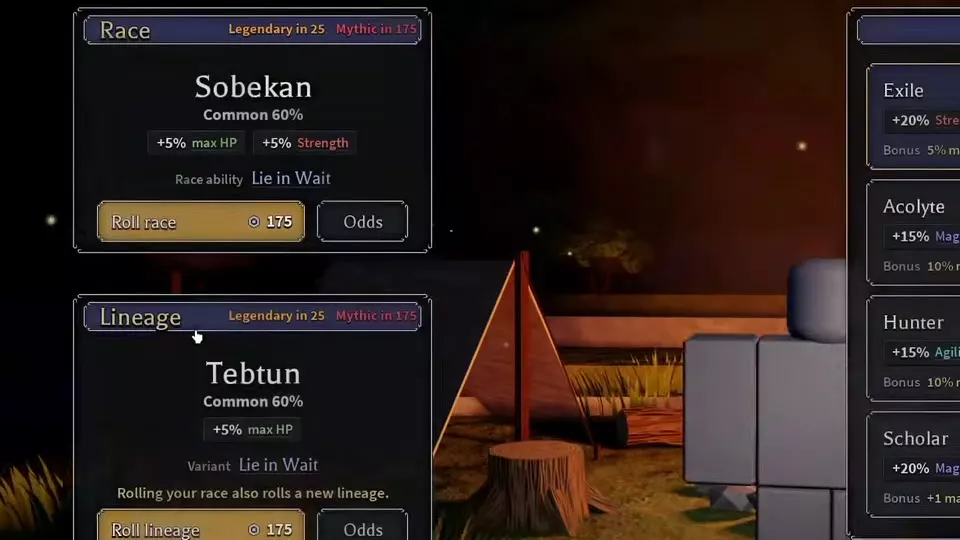
- Press any key at the title screen, then select Play.
- In Characters, choose Create character in an available slot.
- Complete Background, Name, Appearance, and Class, in that order.
- Select Create character to enter the opening The Road adventure.
For a straightforward melee start, choose Warrior for strong close-range attacks or Lancer for piercing attacks. Both are useful beginner choices for handling tough early fights. Compare the other starting roles in the class guide.
To continue an existing character, select its card in Characters to return to the castle. Use Recent, Playtime, Slot, or Search characters to find it. From the castle, Menu > Play returns to character selection.
Use the mouse to select menu buttons. Press Space for confirmation when Space Confirm is displayed, or to skip a cutscene when Space Skip is displayed.
Choose a Land and Start Your Run
After the opening adventure brings you to the castle, use Start Run to set up your next trip.
- Open Start Run.
- Choose Solo, then Play solo.
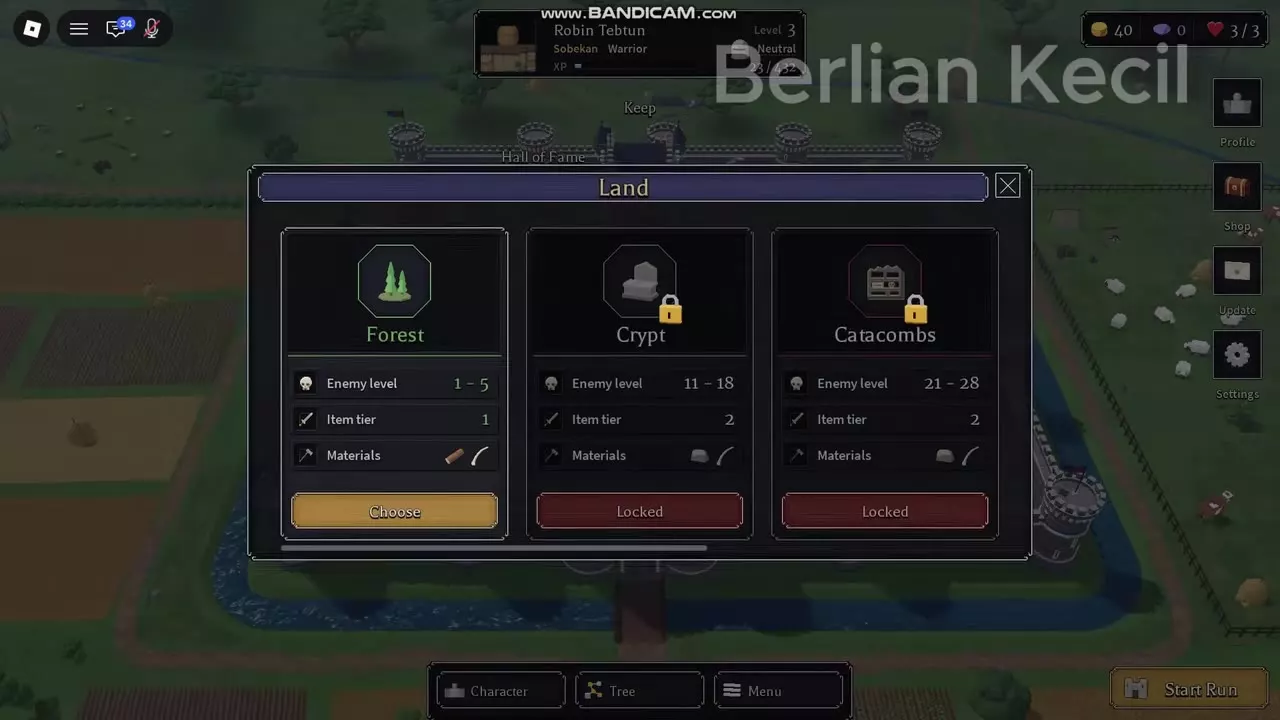
- In Land, inspect the enemy levels, item tier, and material icons. Select Choose under an available destination.
- In Difficulty, compare the multipliers. Use Pick to change the difficulty; the active option reads Selected.
- Select Set out to load the adventure.
Start with Forest on Normal. Forest lists enemy levels 1–5 and Tier 1 items, while Normal keeps enemy HP, enemy damage, and rewards at their baseline multipliers. This gives you room to learn target selection and timing before increasing the difficulty.
| Difficulty | Enemy HP | Enemy damage | Rewards |
|---|---|---|---|
| Normal | ×1 | ×1 | ×1 |
| Hard | ×1.3 | ×1.2 | ×1.5 |
| Nightmare | ×1.6 | ×1.4 | ×2 |
Browse the Land menu horizontally to inspect destinations. A destination marked Locked is unavailable for direct selection in that setup.
Fallen Lineage supports solo play or 2–4 players total, including you. To play with friends, choose Multiplayer > Find a party instead. In a party lobby, Change beside Land or Difficulty opens those settings. Check the selected destination and difficulty, resolve any named player’s Not ready prompt, then use Set out. Follow the multiplayer guide for rooms, invitations, and joining.
Fight, Choose Routes, and Collect Rewards
Take your combat turn
- Select Attack, or open Skills and choose an available ability.
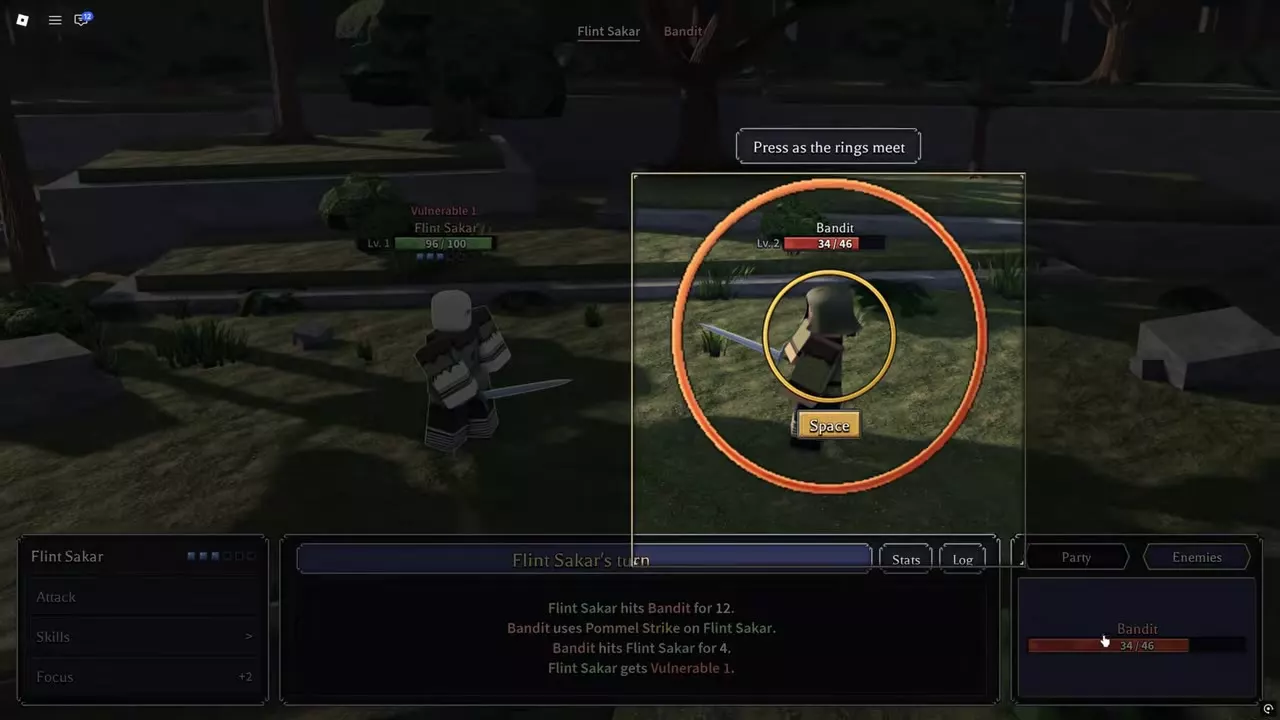
- Point to an enemy with the mouse. Read the Energy cost, damage, hit chance, critical and blocked outcomes, and projected remaining HP before selecting the target.
- For Lunge’s ring check, press Space as the moving ring meets the target ring.
- Read the Log for the actual damage and status results.
Attack costs no Energy. Focus restores 2 Energy and uses your action. Finish a low-HP enemy with Attack when its preview is sufficient, saving Energy for a stronger target. Focus leaves enemies alive to take their turns, so use it when you can withstand the actions before your next attack.
Miss, Good, and Perfect describe timing results. A timing Miss does not mean the attack dealt zero damage; dodge and block are separate outcomes. The combat guide explains previews, checks, and Energy management in detail.
Pick a route and accept its result
Read the route cards, then press the displayed number for Pick or Vote. Resolve the chosen fight or event, read its rewards, and select Continue. In a party, finish your result screen and wait for the other players to finish theirs.
During The Road, choose The Merchant’s Cart after protecting the merchant’s goods. Its choices affect alignment:
| Choice | Alignment |
|---|---|
| Take his pay | Lawful +1 |
| Rob him | Chaotic +1 |
Choose Take his pay to accept the payment, then select Continue. In the Normal tutorial, this payment grants 70 Gold, 4 Timber, and 3 Stone. Those materials cover the Blacksmith’s initial Timber and Stone requirements; the repair also needs 80 Gold, so the payment alone leaves a 10 Gold gap.
Equip rewards and apply your points
Open Character to access Inventory, Stats, and Skills. Tree opens the Passive Tree. Character and Tree are also available during route selection and Campfire rests.
- Equipment: Open Inventory, hover over the new item, and use Shift Compare to compare it with your gear. Check its level and class requirements, then click for Actions > Equip. The opening equipment tutorial directs you to inspect and equip a new weapon.
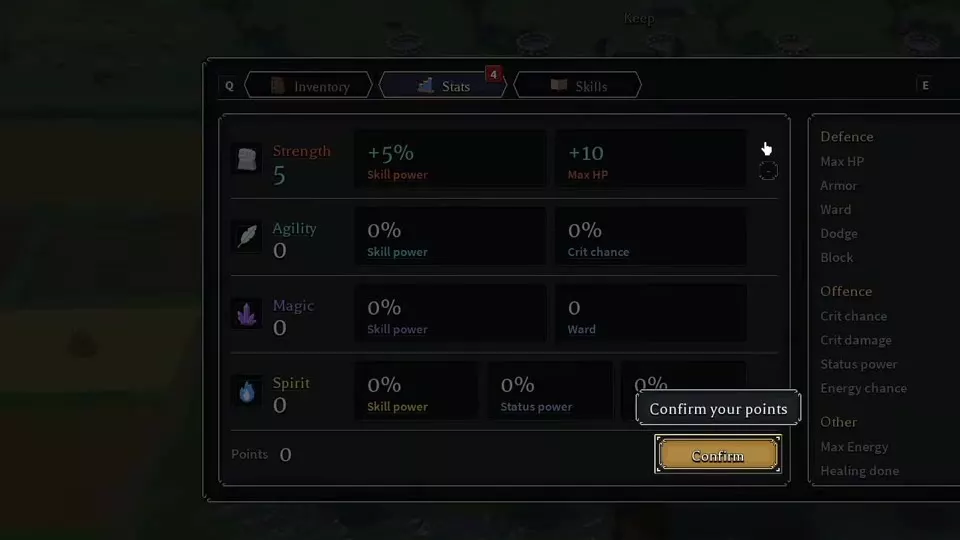
- Stats: Read your available Points and the scaling guidance for your current skills. Use the plus controls beside the attributes you want, review the bonuses, and select Confirm to apply them.
- Passive Tree: Choose one of the six starting Gates, then select nodes connected to your route. Hover over nodes to read both benefits and drawbacks. Blue connections are pending selections; press Apply to commit them and turn the connections gold. Cancel discards pending changes.
- Skills: Review your available abilities and loadout before the next fight.

Repair and Prepare at the Keep
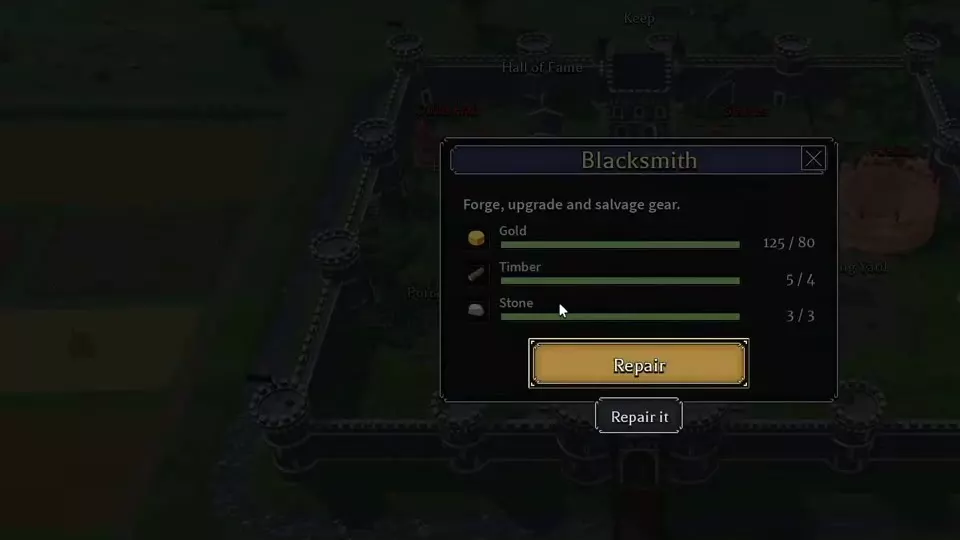
When you return to the castle, reserve the resources for your first Blacksmith repair:
| Resource | Initial repair cost |
|---|---|
| Gold | 80 Gold |
| Timber | 4 Timber |
| Stone | 3 Stone |
Select Blacksmith, open its repair window, and press Repair once you have all three resources. Enter the repaired building to access:
- Forge: Browse known crafting recipes.
- Upgrade tab: Enhance equipment.
- Salvage: Convert selected equipment into materials. Inspect the material preview and confirm the selected items before proceeding.
The Upgrade button at the top improves the facility itself; the Upgrade tab processes equipment. Use the Blacksmith guide for the full equipment workflow.
Keep useful equipment and reserve materials for your next goal before spending everything on upgrades. Salvage gear you have decided you do not need.
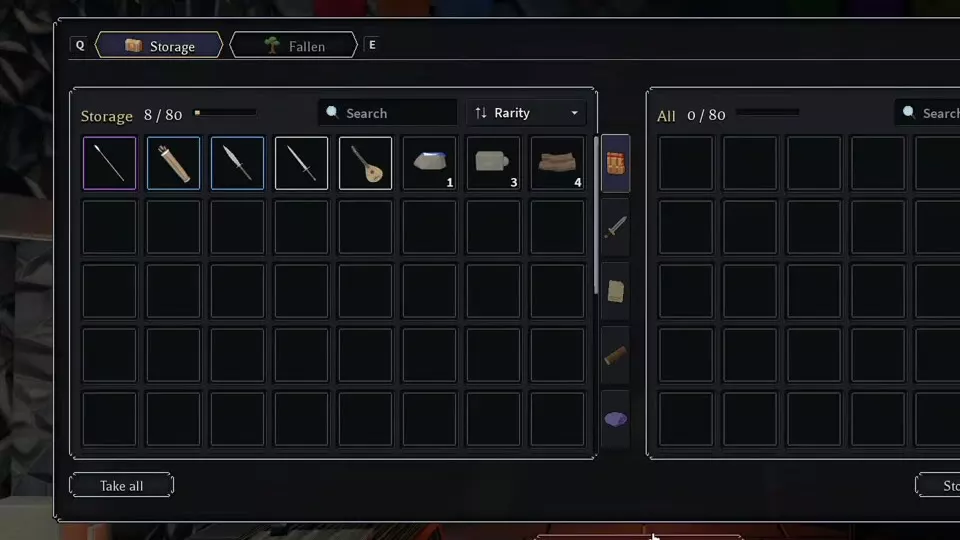
Open Keep > Storage to deposit items you want to preserve. Drag carried items into Storage, use Store materials for materials, or Store all for a bulk deposit. Items left in Keep Storage survive a character wipe. See the storage guide for withdrawals and retention details.
Once your gear, points, and skills are ready, return to Start Run and choose your next adventure.
When a Run Gets Difficult
A character falls when their HP reaches 0. In a party, the remaining allies keep fighting after one member falls. A party defeat leads to the Home settlement. Check Profile > Characters for your character’s current Lives.
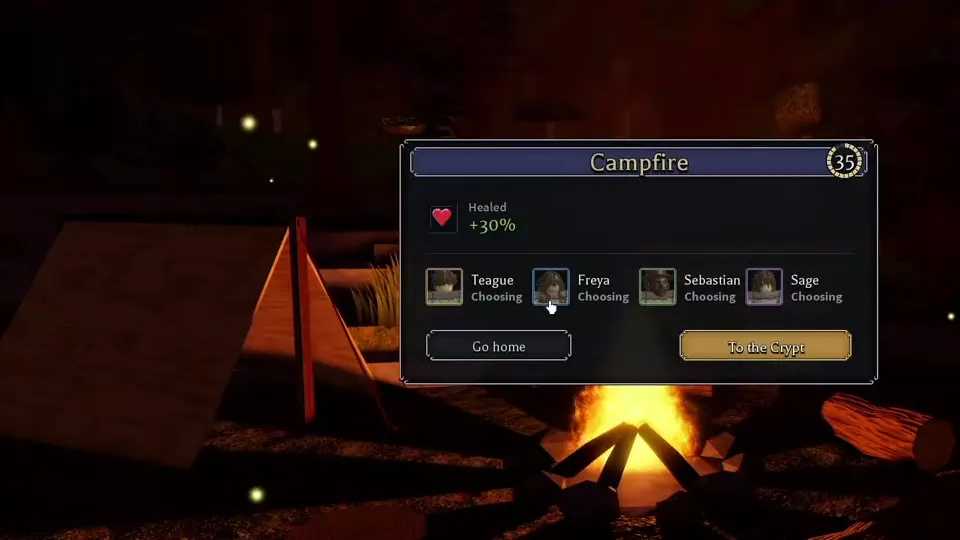
At a Campfire, read the recovery panel and check your HP before deciding what comes next. The panel displays Healed +30%, and reports Wounds Gone when wounds are cleared. Open Character or Tree during the rest to equip gear or apply points.
- Choose Continue to advance the current route.
- At the Forest exit, To the Crypt advances into the next region.
- Choose Go home to end the trip and prepare at the castle. Review the run summary, then select Continue to return there.
Choose Go home when your current equipment or remaining HP makes another encounter a poor risk. The death and Campfire guide explains recovery and return options.
If fights feel unexpectedly hard, check more than your damage number. Inspect equipment level and class requirements before trying to equip a reward. Compare the action preview against each enemy: their defenses and statuses change the projected result. Even an action labeled No dodge still needs its separate block chance checked. A finishing Attack, a different target, or returning to prepare offers a concrete alternative to spending another turn on Focus.
Choose Your Next Goal
- Improve your turns: Learn target previews, Energy recovery, and timing checks in combat controls.
- Choose a role: Compare weapons and solo or party roles in starting classes.
- Plan another repair: Compare facility purposes and budgets in Keep facilities.
- Bring friends: Create or join a room with the multiplayer guide.