
Fallen Lineage Bandit Chief Strategy
Last updated:
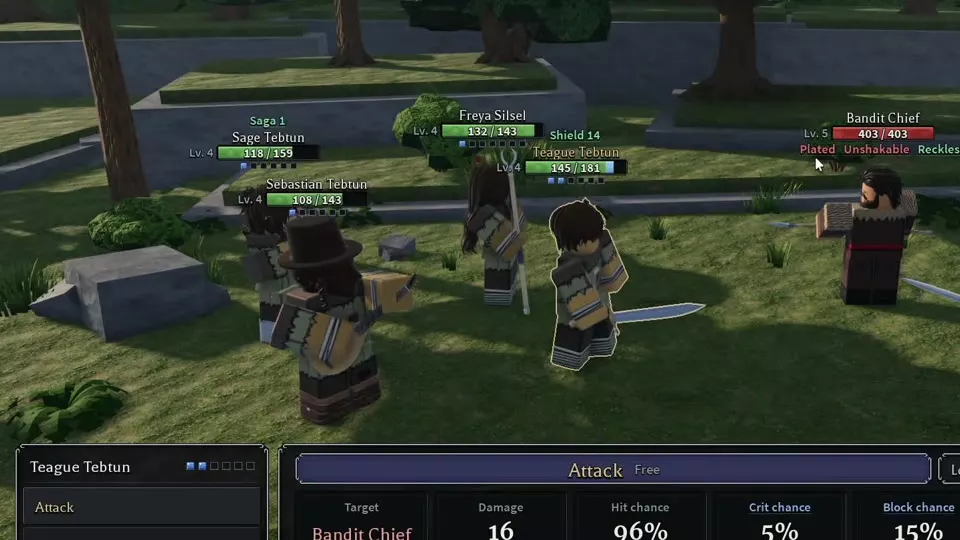
Bandit Chief fights alongside Chief's Guard at the end of the Forest. Remove the guard early, coordinate damage around Vulnerable, and keep resources ready if the Chief has Second Phase.
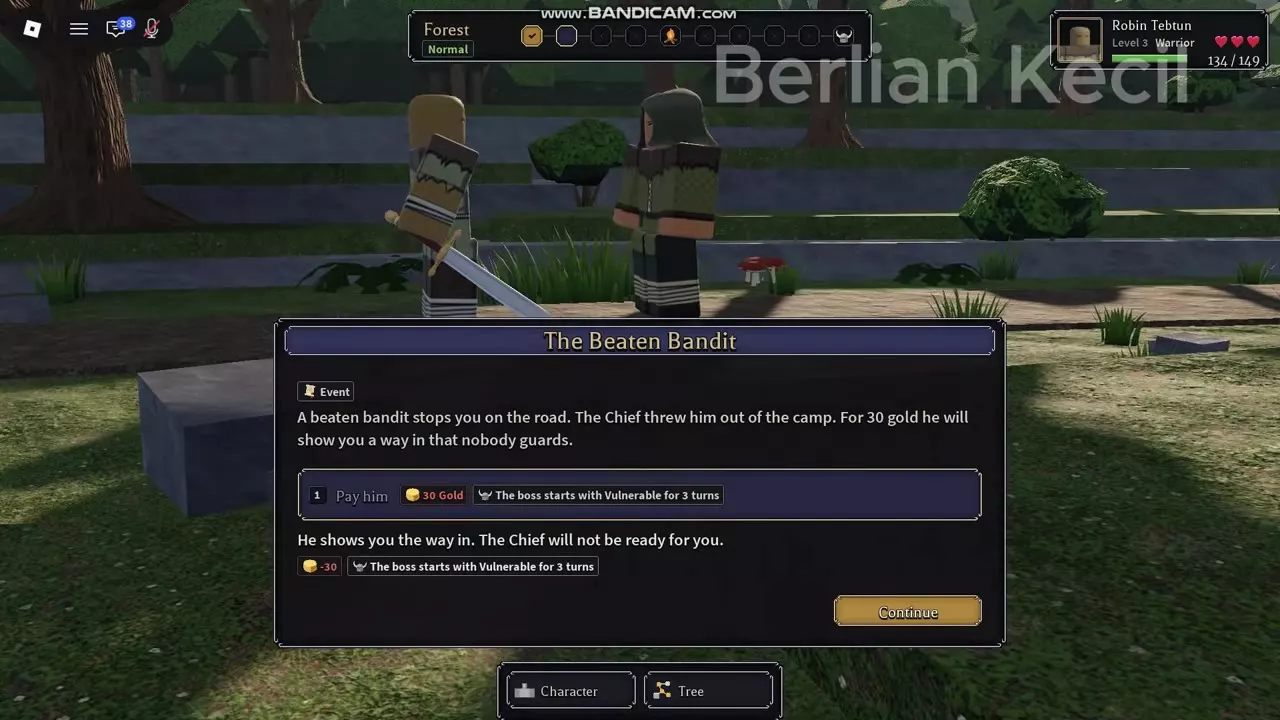
Pay The Beaten Bandit 30 Gold for an opening Vulnerable lasting 3 turns. Defeat Chief's Guard first: use a smaller setup hit to consume Shell's 50% first-hit reduction, then follow with heavier damage in the same round. Against the Chief, maintain Vulnerable and Burn instead of relying on control effects blocked by Unshakable. If Second Phase is present, the first lethal hit restores him to 50% maximum HP and clears harmful statuses; save Energy and recovery for the continuation.
Clear the Guard and Keep Damage Debuffs
Focus Chief's Guard before committing the whole party to Bandit Chief. Removing it eliminates another enemy's attacks and the threat of its Pommel Strike stun.
Once the guard falls, coordinate party buffs and Vulnerable before your heavier attacks. Vulnerable increases damage taken by 25%; Lunge applies it, while Firebolt adds Burn for continuing damage. The Chief's Unshakable blocks control effects, but it does not block these two damage tools.
For solo play, keep the same target priority and protect your HP before entering. Leaving the guard active while attacking the Chief exposes you to both enemies' turns.
Prepare Before the Boss
Buy the weakened opening
When The Beaten Bandit event is available, choose Pay him with 30 Gold. Bandit Chief then starts combat with Vulnerable for 3 turns. This is a useful investment when your priority is the boss fight: it gives your damage dealers an opening without first spending an action applying Vulnerable.
The alternative branches serve alignment goals: Hand him to the Watch gives Lawful +1, and Let him go gives Chaotic +1. Payment buys the starting debuff; you still need to fight Chief's Guard.
Enter with HP and Energy ready
Recover before the encounter and prepare enough Energy for your opening skills. Lunge costs 2 Energy. During combat, Focus spends an action to restore 2 Energy, so plan recovery turns around the party's remaining attacks rather than having everyone prepare while both enemies stay active.
Inspect the Chief's traits for Second Phase before committing your resources. It is present in the Hard and Nightmare four-player encounter examples.
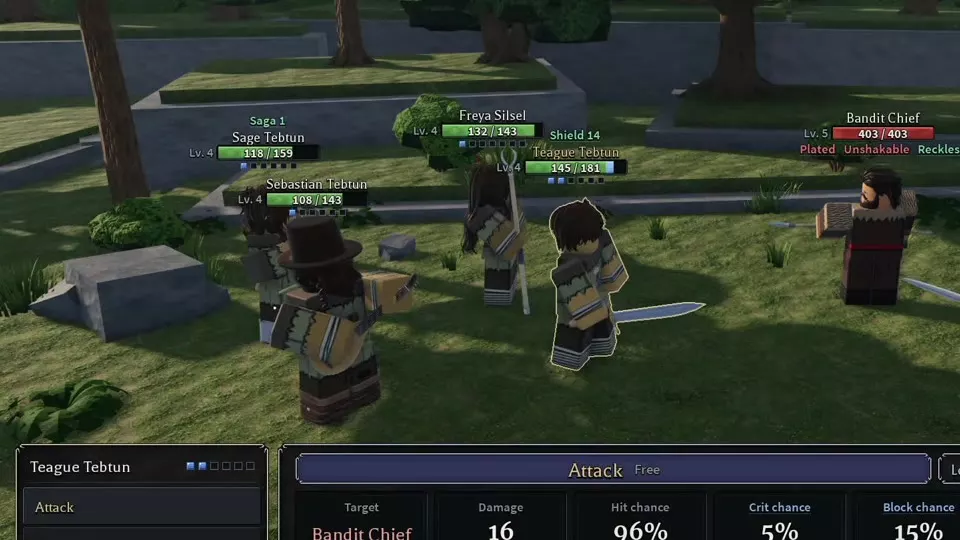
The November 13, 2026 balance update reduced Bandit Chief's HP value from 130 to 80. The four-player Level 5 encounter examples have separate totals of 403 HP on Normal, 442 on Hard, and 481 on Nightmare. Use the HP displayed in your encounter to judge finishing attacks; the updated 80 HP value does not replace those party encounter totals.
Break the Guard's Shell
Shell reduces the first hit Chief's Guard receives each round by 50%. Order your attacks so that the reduction falls on a smaller hit or an attack that also prepares the next attacker.
- Target Chief's Guard with a lower-investment hit or a setup skill such as Lunge.
- Follow with your stronger attacks in the same round, after Shell's first-hit reduction has been consumed.
- Finish the guard before spreading damage onto the Chief. If it survives into another round, account for Shell again.
In a four-player Hard encounter, the guard had 75 HP. Lunge dealt 27 damage and applied Vulnerable for 3 turns, leaving 48 HP; Firebolt followed for 70 damage and defeated it. The useful pattern is the setup hit followed by concentrated damage, rather than a fixed damage requirement for every party.
If you cannot finish the guard promptly, use its Unsteady weakness: Stun, Asleep, Fear, Silence, and Slow last 1 extra turn when successfully applied. Keep that control directed at the guard; the Chief has different immunities. The guard's own Lunge applies Vulnerable, and Pommel Strike inflicts Stun, so delaying its removal also risks losing player actions.
Fight Plated and Unshakable
| Trait or attack | Effect |
|---|---|
| Plated | +40 Armor |
| Unshakable | Seven control immunities |
| Reckless | Vulnerable for 2 turns |
| Impale | Applies Sunder for 2 turns |
Unshakable prevents Stun, Freeze, Asleep, Fear, Silence, Taunted, and Slow. Spend your actions on damage, party support, and applicable damage debuffs. A skill with a blocked control effect still needs to justify its action through its remaining benefits.
- Keep Vulnerable active for heavier attacks. Lunge provides a damage setup and cannot be dodged, making it useful when an ordinary attack risks missing a finishing opportunity. Block remains a separate defense.
- Use Firebolt to maintain Burn. Its hit and continuing damage support the party's damage plan alongside Vulnerable. Firebolt can be dodged, so do not treat its preview as a guaranteed finish.
- Exploit Reckless after a block. When one of the Chief's hits is blocked, he receives Vulnerable for 2 turns. Use that opening for damage instead of automatically spending another action refreshing the same debuff.
- Protect the target of Impale. Its Sunder lasts 2 turns and halves Armor. Give that character recovery or support before further attacks overwhelm them.
With Lie in Wait, Focus grants Counter, but the attached Taunted effect cannot redirect this boss through Unshakable. Choose Focus for the Energy you need rather than relying on that taunt to protect a teammate.
See status effects and reactions for the broader interactions behind Vulnerable, Sunder, and Counter.
Prepare for a Second Phase
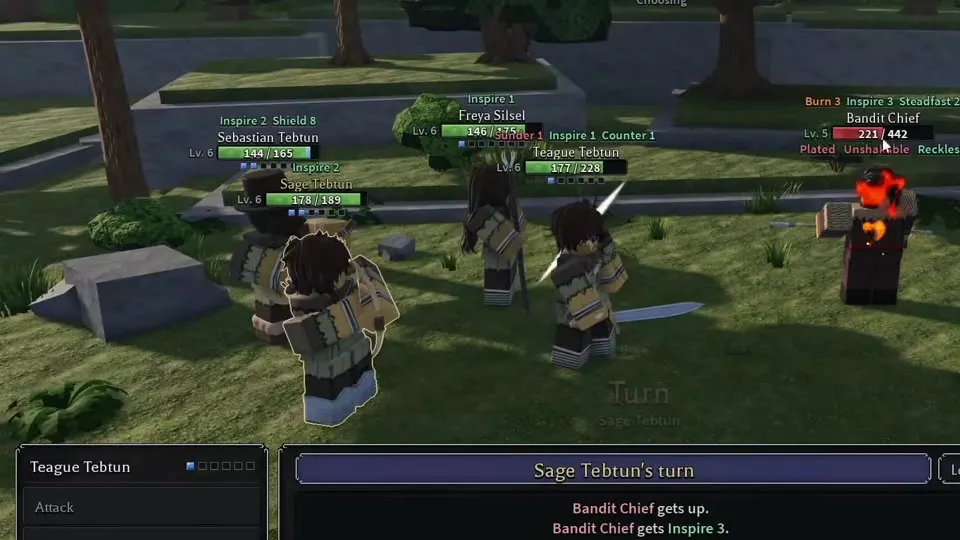
When Bandit Chief has Second Phase, the first hit that would defeat him triggers the transition. Reaching half HP does not trigger it.
| Transition effect | Result |
|---|---|
| HP restored | 50% maximum HP |
| Harmful statuses | Cleared |
| Inspire | 3 turns |
| Steadfast | 2 turns |
| Energy gained | 2 Energy |
Before the first finishing hit, leave enough Energy for follow-up damage and keep recovery available for wounded party members. The Chief returns with Inspire, which increases his damage by 20%, so entering the transition with several weakened teammates creates immediate pressure.
After he gets up, reapply Vulnerable and Burn, then resume coordinated attacks. Harmful statuses from before the transition end; use your remaining actions to rebuild the damage setup. Steadfast prevents Stun, Freeze, Asleep, Fear, Silence, and Taunted, while the Chief retains his broader Unshakable immunity.
In the four-player Hard encounter, a Firebolt hit the Chief at 53/442 HP and triggered his return at 221/442 HP. Plan for that restored health before spending your last skill on the apparent kill.
Rewards and Equipment Choices
Four-player victory examples:
| Difficulty | XP | Gold | Equipment reward |
|---|---|---|---|
| Normal | 462 XP | 40 Gold | Frostmere Glaive |
| Hard | 693 XP | 54 Gold | Pyrewarden's Staff |
| Nightmare | 924 XP | 73 Gold | Gloaming Knife |
Check the reward's class requirement before replacing your weapon. At Tier 1, Frostmere Glaive requires Level 5 and Lancer; its Chill effects suit a build that benefits from attacking Chilled targets. Pyrewarden's Staff requires Level 5 and Mage; its Status power and +15% damage against Burning targets fit a Firebolt damage plan. The Nightmare reward example, Gloaming Knife, is Rogue equipment.
Use the weapon directory to compare requirements and effects before equipping a reward. For another Forest run, use the Forest events and choices to plan event preparation and recovery stops.
Boss Data and Forest Routes
- Bosses and resistances: compare boss traits and consult Bandit Chief's conditional HP and phase data.
- Enemies and matchups: look up Chief's Guard and other Forest enemies.
- Forest events and choices: choose event branches, recovery stops, and connected routes.